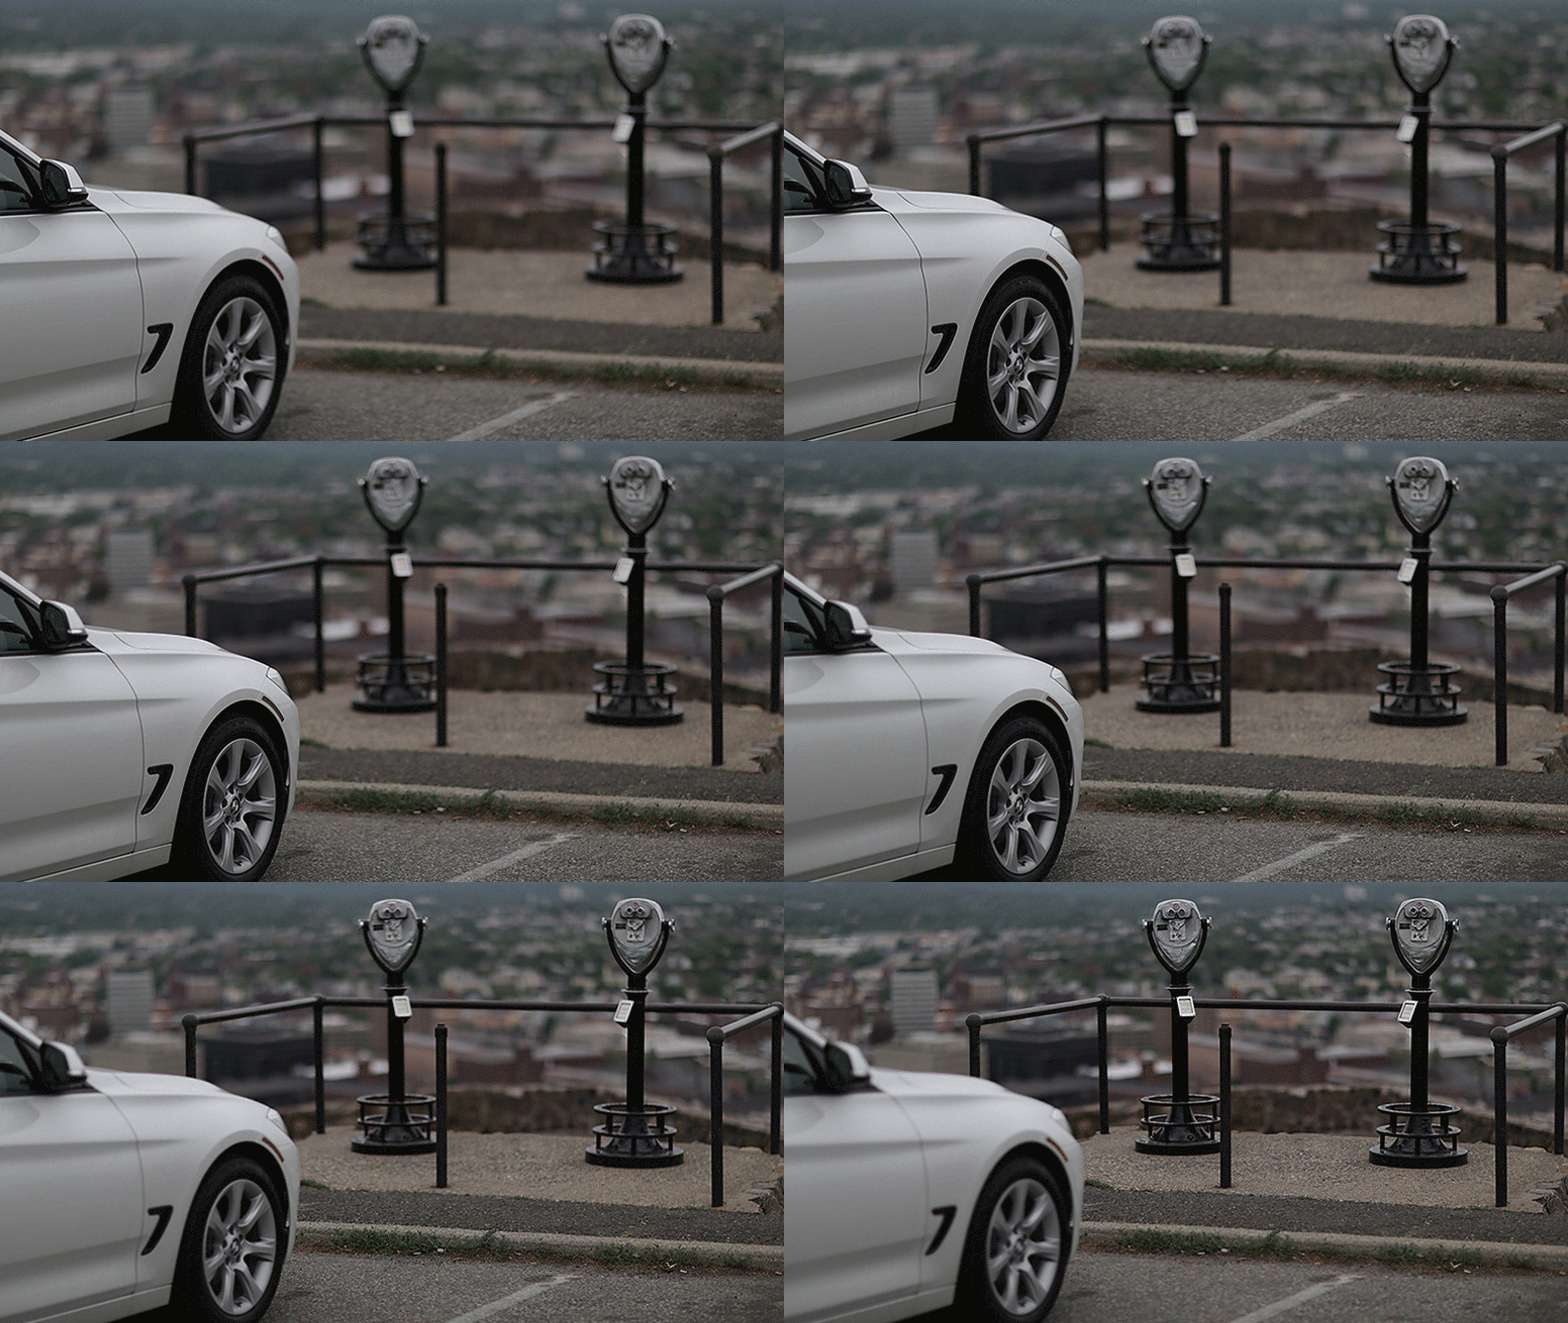
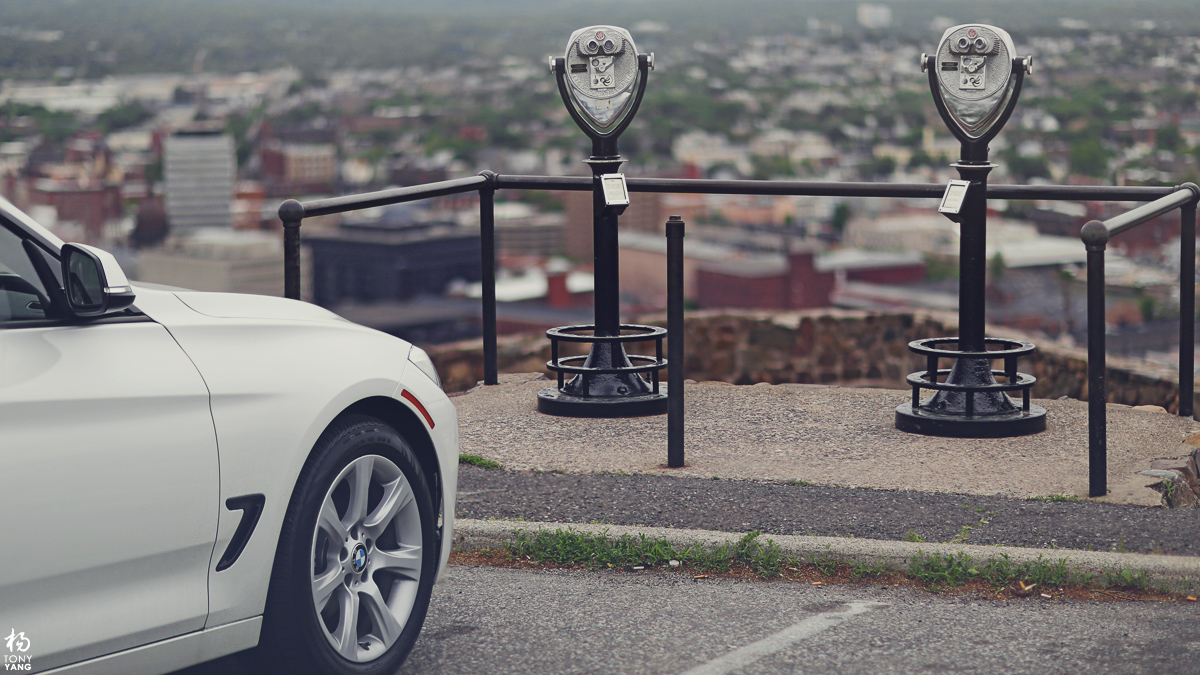
Most of us love the 3D pop effect of a shallow depth of field photo. It’s practically impossible to get these effects with a phone camera, so it’s crucial to use a DSLR or a higher end compact camera to achieve these effects. Even with a prime lens at the widest for the best bokeh, it means you may not get the entire subject from front to back in focus either. Focus stacking technique lets you keep the beautiful bokeh background while having full control of what objects to keep in focus.
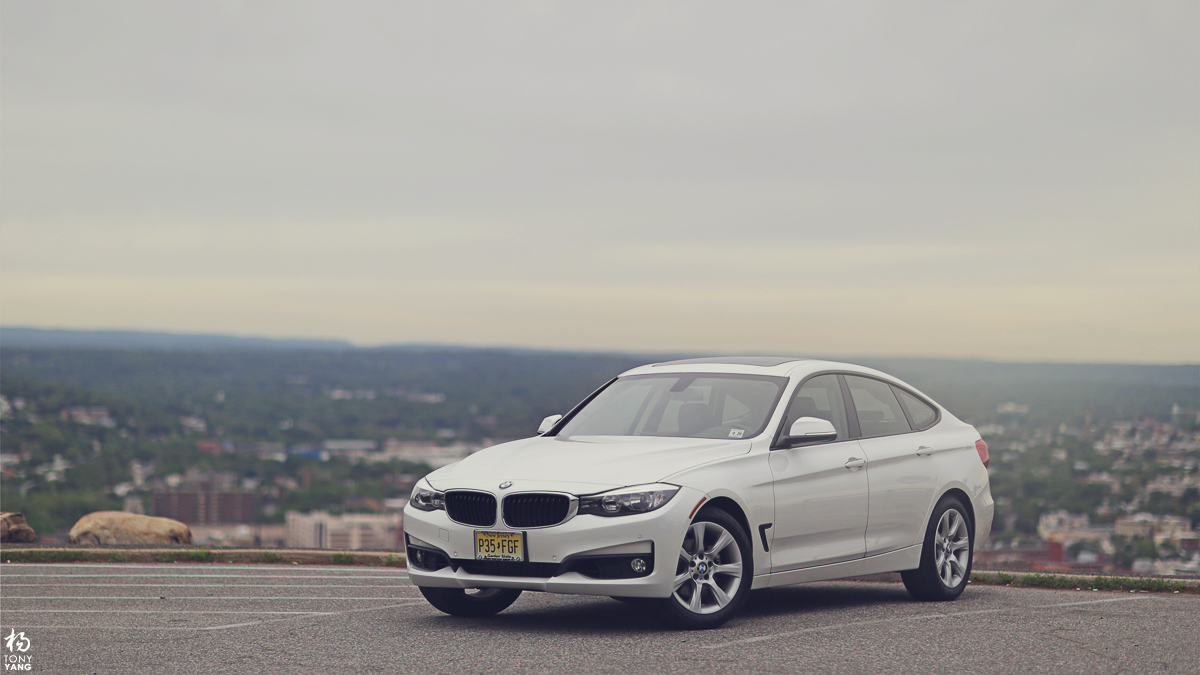
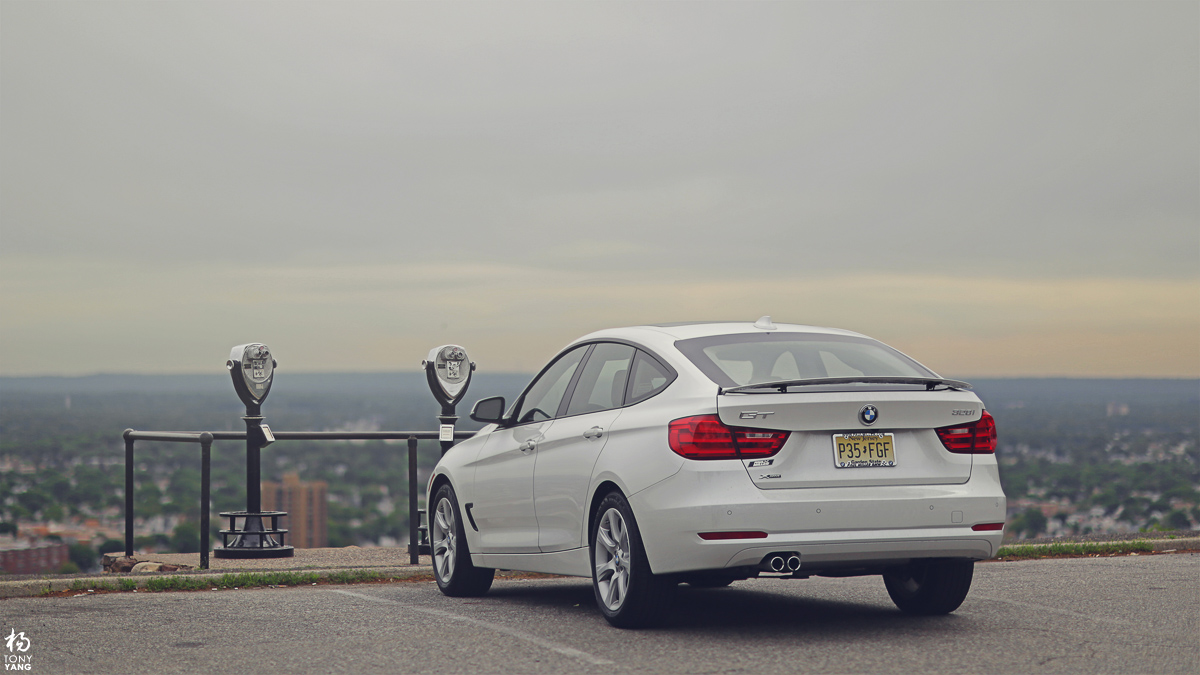
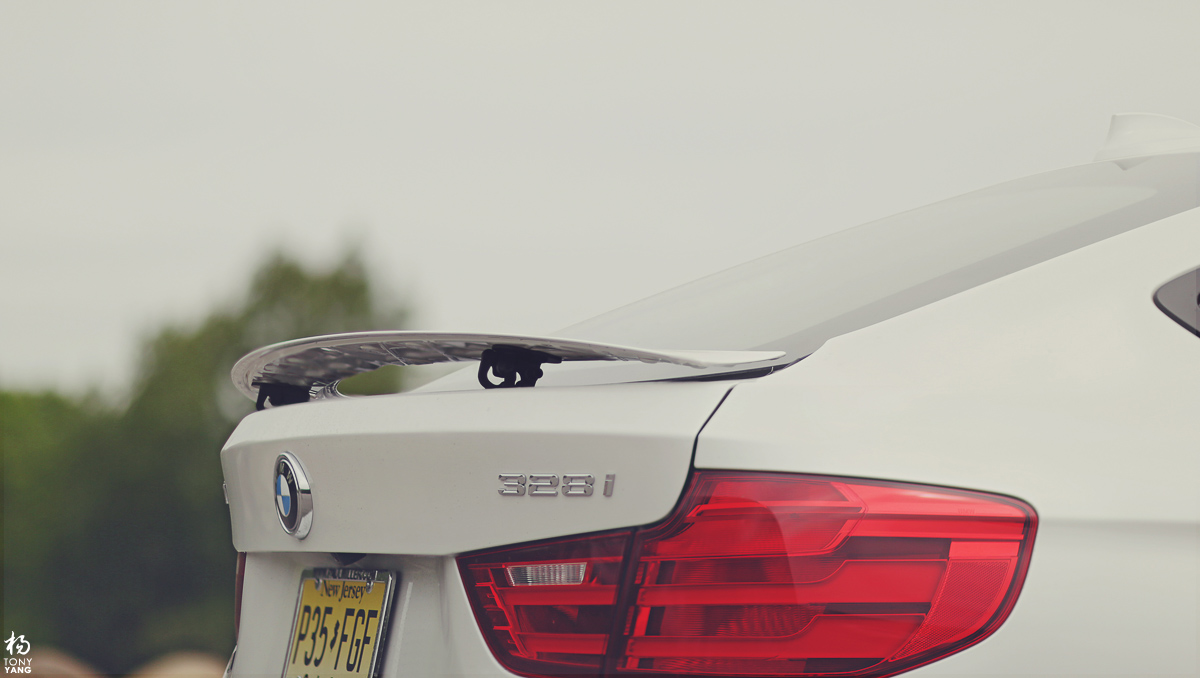
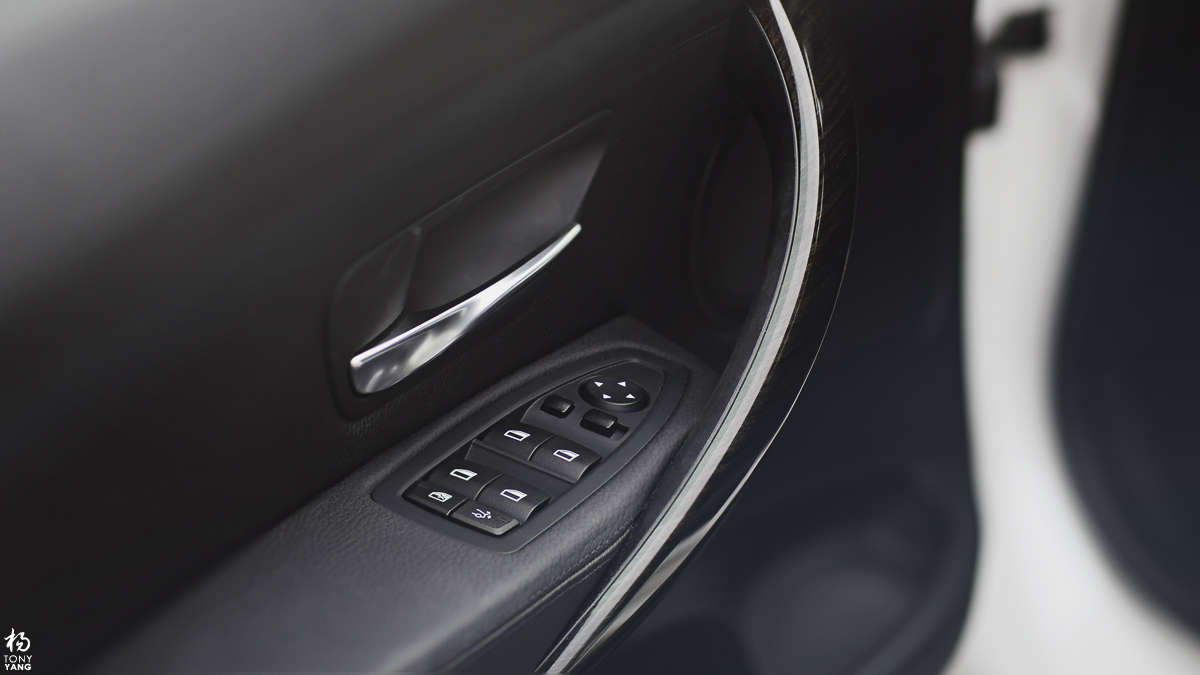
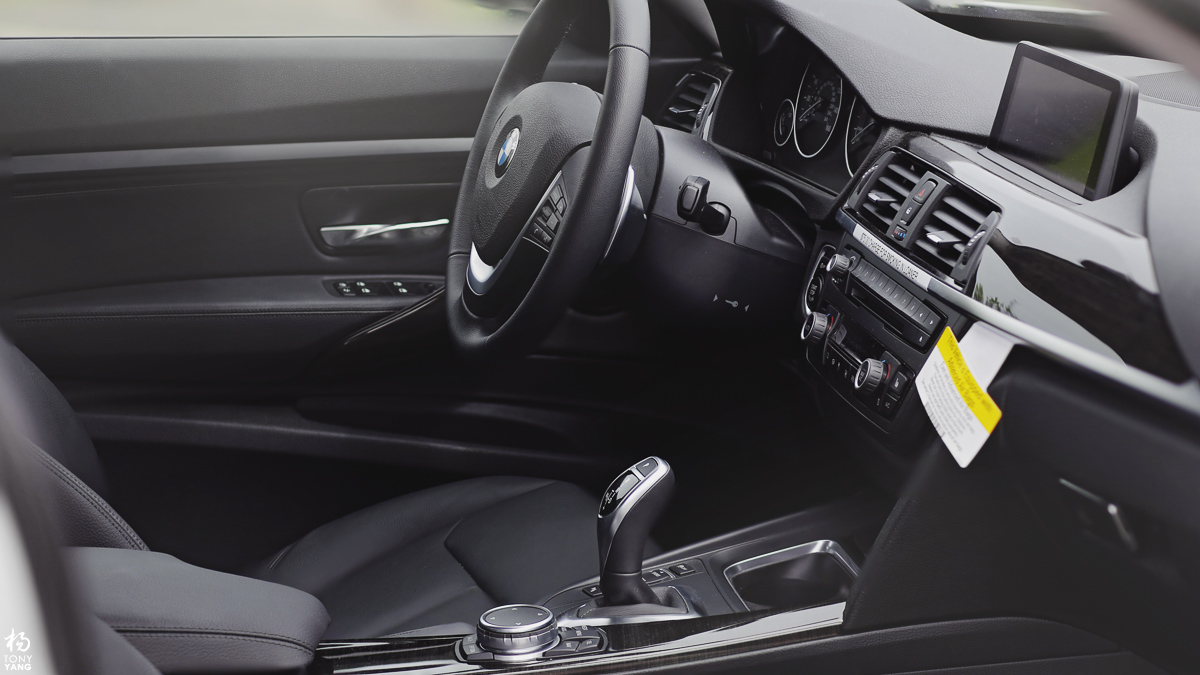
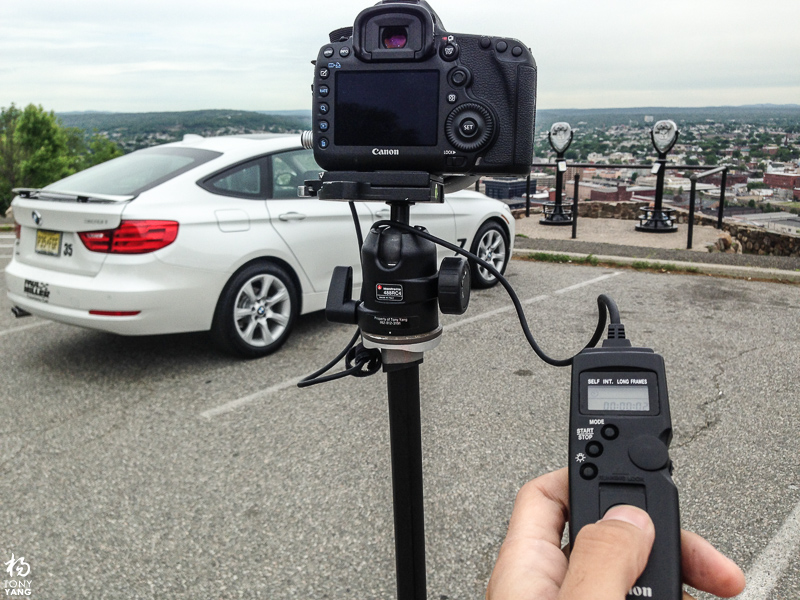
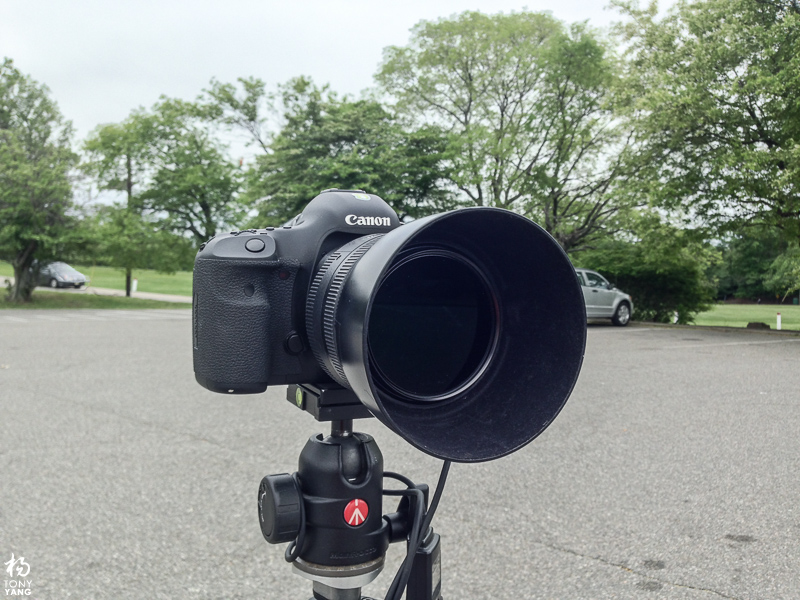
I watched a tutorial from Phlearn about focus stacking and I wanted to try it myself. Since I am still using Adobe CS6, this tutorial helped me find where the Stacked Images menu was in Photoshop. One the last day of my BMW 328i Gran Turismo loaner, I decided to try some car shots with very shallow depth of field for the background, while keeping all of the car in focus. I took out my Canon 85mm f/1.2L with NDX8 filter on a Canon 5D Mark III, and tripod with remote. I set my camera to manual focus, shooting at f/1.2, and manually pulled the focus from the front of the car to the rear while taking multiple shots in between.
While the two linked tutorials show an automated process, I noticed it wasn’t perfect, leaving a few jagged or misaligned edges. I decided to use Photoshop to auto align the stack of images, but manually mask out each layer to what I want in focus. The results were significantly cleaner.
Click on images below to enlarge

